Chains wear out faster than you think. Here’s why you need to check your bike’s - and how. It’ll save you lots of money in the long term
Chain slipping and skipping? If you’ve established that it’s not a matter of gear adjustment, it’s time to head to your local bike shop. Prepare for a shock. You may need a new chain, new chainrings, a new cassette, and new jockey wheels for the rear derailleur. That’ll be roughly £100, please. This is what chain wear costs if you don’t catch it early enough: it ruins the rest of the drivetrain. If you spot it sooner, you can replace only the chain. Your saving? About £85, in this example.

All chains become badly worn sooner or later - sooner if they’re not well looked after. For tips on taking care of your chain we have a usefule article here. The metal of the bushings and pins wears away, so the pins become further apart. The chain elongates. It doesn’t literally stretch, but you’ll often hear the process called stretching. As the chain lengthens, the gaps in the chain don’t mesh properly with the drivetrain teeth. The gears slip. This is the point of no return: the whole drivetrain is damaged and needs replacing.
Check your savings Find a retailer
Check your chain
There is a way to forestall this: measure your chain. Once the chain has become 0.75% longer, it’s time for a new one. Once it’s more than 1% longer, the rest of the drivetrain will be worn and will almost certainly need replacing too. These are rough guidelines. Less than 0.5% wear is fine, even with 10-speed derailleur gears. More than 1% wear and it might still work okay if your bike has only one chainring and one sprocket - a singlespeed or hub-geared bike, for example.

Measuring less than one per cent wear might seem like a job for lab technicians. In fact, it’s easy. All bicycles use half-inch pitch chain. It’s half an inch from the centre of one pin to the centre of another. The distance between two pins - which is to say, a full chain link, which articulates and has both inner and outer side plates - is one inch. So 12 links (24 pins) is 12 inches. Place a steel ruler under the chain, with the zero under your ‘starting’ pin. The 24th pin should be at the 12 inch mark, assuming the chain is unworn. If it’s 12 1/16in, it’s 0.5% worn. If it’s 12 1/8in, it’s 1% worn.
Sound tricky? There’s an even easier way. Buy a chain wear indicator. It’s a simple measuring tool, with pegs to indicate 0.75% and 1% wear. You hook one end in the chain and let the other end rest on the chain. If it stands proud, as pictured, the chain is worn less than the amount shown on the tool. If the peg falls into the gap, so it’s flush against the chain, the chain has worn the indicated amount - or more. When the chain is 0.75% worn, replace it. You should be able to to carry on using the chainrings, cassette and jockey wheels for a while yet.
When you measure the chain, make sure it is lightly tensioned. A rear derailleur will do this for you. On a bike with a single chainring and sprocket, apply gentle pressure to one pedal while the rear wheel is on the floor. This will stop the top run of chain from chain sagging.
The frequency with which you need to check your chain will be depend on your weekly mileage, the conditions you cycle in, and how clean and well lubricated you keep your chain. Every fortnight should be ample. Muddy mountain bikes will go through chains quicker than bikes that are only used on road. If your bike has a fully-enclosed chaincase, the protected chain may last for years.
Buying & fitting a new chain
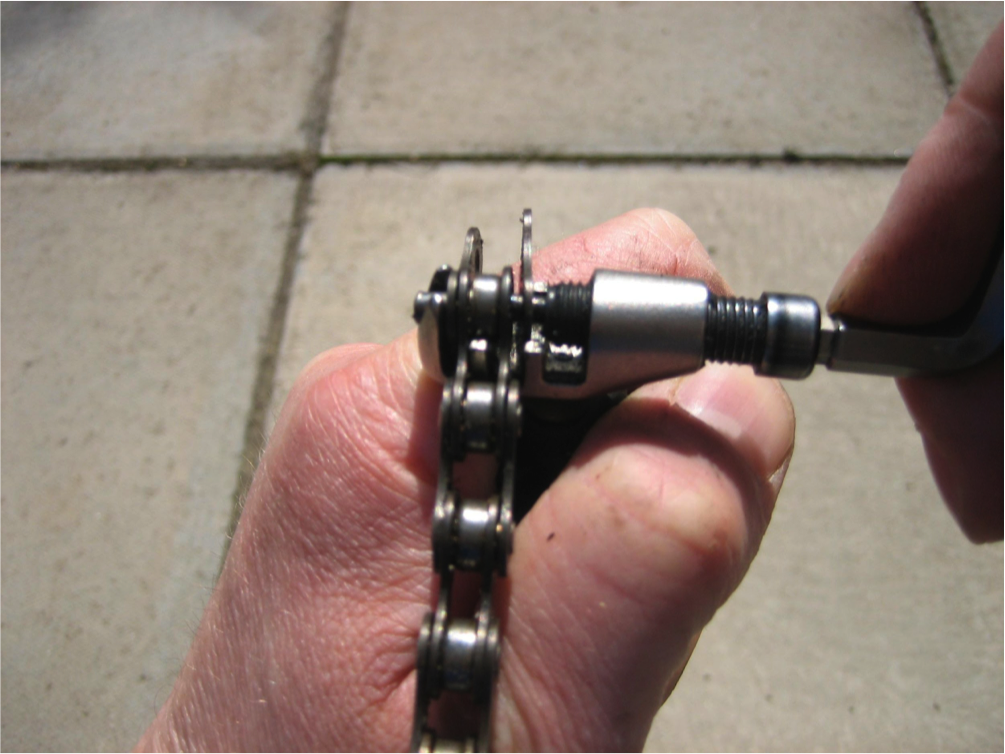
Take your bike to the local shop or do it yourself. Fitting a chain isn’t difficult. The crucial thing is to get the right one. For while chains use the same half-inch pitch, the widths and fine details vary. A 10-speed chain is thinner than an 8-speed chain and meshes with thinner drivetrain teeth.
Count the sprockets on the bike’s cassette. That’s the ‘speed’ chain you need (but see below). If it’s a singlespeed, two chain thicknesses are available: 1/8in and 3/32in. If you’re not sure which to get, either ask at your local shop or get 1/8in; being wider, this will still work on a narrower 3/32in chainring and sprocket.
Otherwise, chains up to and including 8-speed are generally interchangeable – across speeds and brands. So you can use that 8-speed Sram chain on your 6-speed Shimano cassette. Nine-speed Shimano and Sram chains and cassettes are interchangeable, as are 10-speed ones. And other brands of chain will also work, if they’re the right speed, so feel free to use that 9-speed KMC or Clarks chain on your 9-speed Shimano cassette.
If your bike has Campagnolo gearing or is 11-speed, things are more restrictive. Only buy a chain of the relevant speed and brand - or that advertises compatibility with your system.

The new chain will probably need shortening so that it has the right number of links. Count those in your old chain. Alternatively, wrap the new chain around the largest chainring and largest sprocket, without running it through the rear derailleur, and bring the ends together. An overlap of two links like this will give a suitable length when you thread the chain through the derailleur.
Do you need to revolutionise your commute?

Comments: